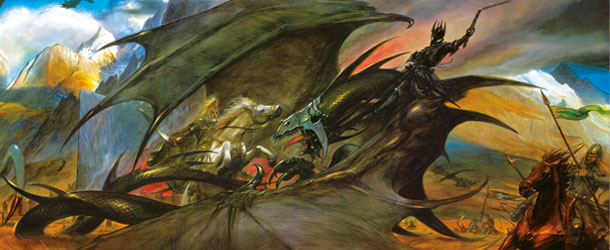
Players of War of the Ring frequently ask for tips on how to paint the 205 miniatures included in the game - plus those of the expansions!
German pro painter Florian “Dark Atlas” Kästner made a great job on a commission by Michael Nanfeldt, which recently we have been showing on Ares’ Instagram. We asked Florian some painting tips to share with the War of the Ring community, and he kindly put together a quick guide. We also asked him tips to avoid some of the issues our customers have with painting their miniatures – read carefully the “Cleaning” and “Priming” sections!
More works by Dark Atlas can be seen on his Instagram - @_dark_atlas_, on New Grounds, and he can be contacted for commissions on Fiverr. Ares thanks him for all the tips!
1. CLEANING
As with all painting projects, begin properly washing the miniatures. Traces of softener oils sometimes remain on the plastic. Removing any residual chemicals left on your minis from the production process is very important!
In my paintjob, I just cleaned the minis with soap and water before priming them, and everything worked well (PRO TIP: use a toothbrush to get into all the areas).
For additional safety, you can start by placing the minis into baby powder for a few days, to absorb some of the softener; then, clean them with soap, water and a toothbrush.
If after washing and drying the miniatures they still feel greasy/soapy, you can try to wash them a second time.
If you have the feeling that is not enough yet, you can consider cleaning the miniatures with methylated spirits; put the mini into a glass of methylated spirits, wait a few minutes and, then, brush them with a toothbrush.
However, as I said, this was not necessary for my War of the Ring miniatures!
2. PRIMING
The next step is priming your miniatures.
I tested different spray primers to find which one works the best with the plastic of these minis.
In my opinion:
First place: CITADEL CHAOS BLACK and for the zenithal highlight CITADEL CORAX WHITE
Second place: ARMY PAINTER MATT BLACK and for the zenithal highlight ARMY PAINTER MATT WHITE
both work fine with this plastic.
PRO TIP: Be careful: use a "fresh" primer, and mix it properly before use! Sometimes the primer in the spray can is not mixed well and the paint in it has separated itself from the other chemicals. In this case, after some time, the chemicals in the primer react to the color and try to get the paint back to his liquid form. If, at that point, you put varnish on the mini, the varnish reacts with the primer chemicals and you can sometimes get a glossy and sticky result.
3. Finding the right COLORS and TOOLS
So, do you need great tools to get a great paint job? No!
I used MARABU UNIVERSAL synthetic brushes in size 4 and 5.
I get those small brushes into all areas and I use them for shading and painting the small details as well.
Of course, in some of my other works I use some high-end brushes, but in this case the cheap and synthetic are good enough.
Keep in mind the goal here is a "Ready to Play" paint job not a "Showcase" paint job.
Finding the right colors can be difficult but you can make it easier for yourself by using some references: pictures, movies, books... sometimes it helps if you go outside and take a walk... take pictures of things and then try to get the same colors mixed together to get closer to your reference.
For most of the armies in this paint job I used the paint range from CITADEL, except for the heroes and some armor and weapons. Sometimes using other colors can help creating a unique paint job. BE CREATIVE!!!
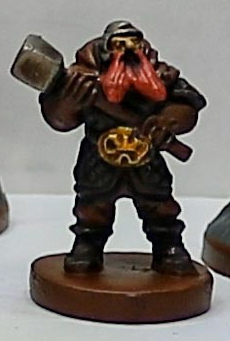
Hammer
Armor and axe
For the hammer, I used VALLEJO DARK ALUMINIUM and some CITADEL AGRAX EARTHSHADE shade.
For the armor and axe, I also used VALLEJO DARK ALUMINIUM but with a different shader, CITADEL NULN OIL, this time to get a more burnt like Iron look on the armor and axe.
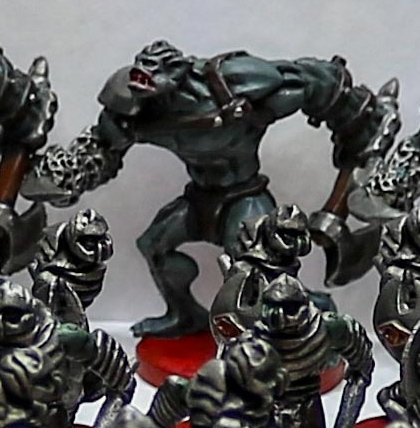
Companions
If you look closely you can see that the Companions and Minions have more details than the regular army miniatures. I put some highlights on them, showing how the light falls on their bodies.
This is easier to accomplish than it sounds. I used one tone brighter than the base color (base green and a brighter green): in the case of Frodo and Sam CITADEL WAAAGH! FLESH, then for shading CITADEL AGRAX EARTHSHADE and for highlights CITADEL WARBOSS GREEN.
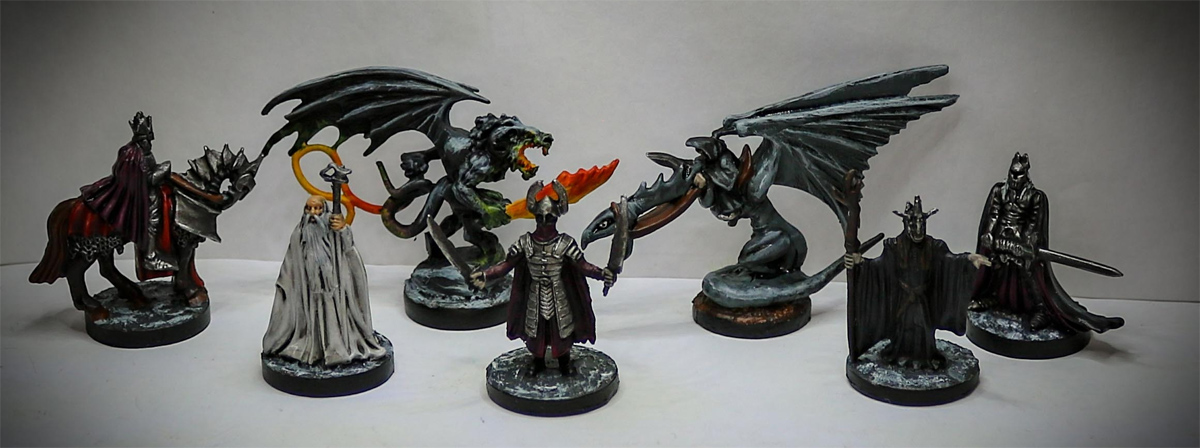
Shadow characters
(PRO TIP: mix some of CITADEL WAAAGH! FLESH and CITADEL WARBOSS GREEN together to get a smoother highlight).
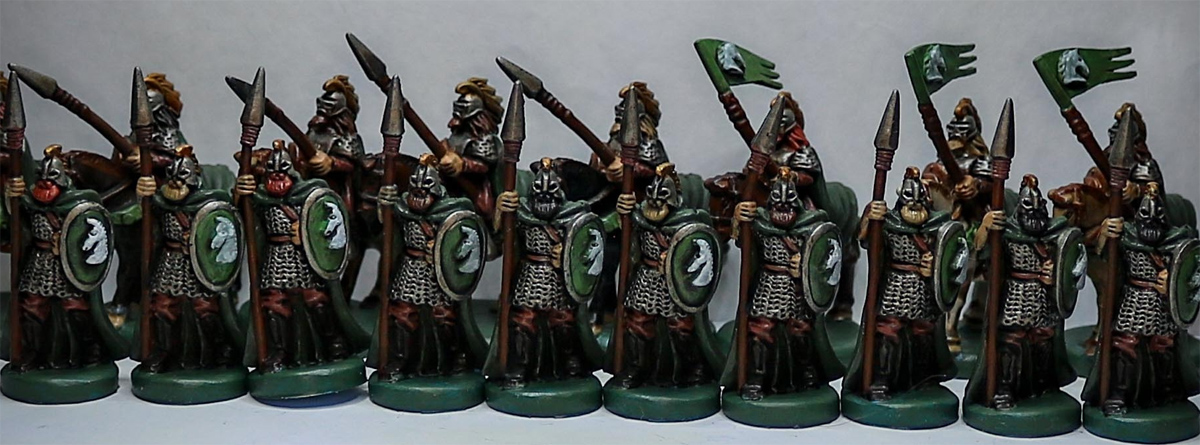
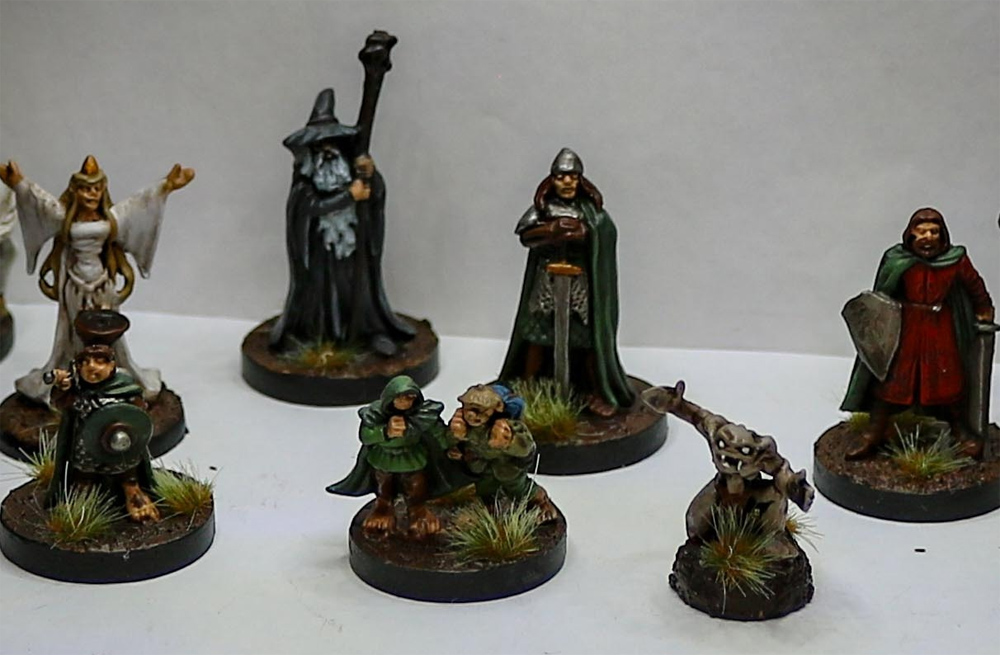
Rohan soldiers
PRO TIP: Avoid painting clones if possible. Look at the beards and hair of all those Rohan soldiers. Mix up your color choices. Don’t paint them all in one color. Different beard and hair colors makes your army more realistic! Remember you are not painting Star Wars Stormtroopers... make your minis unique.
4. A CLOSER LOOK

Gothmog mini
Let’s take a closer look at Gothmog's mini. Look at his cape and robe.
With the base color of a mix of red and blue, I then used for shading some DRUCHII VIOLET from CITADEL.
For highlights, SCREAMING PINK also from CITADEL.
For his armor I used DARK ALUMINIUM from VALLEJO as the base, followed by CITADEL NULN OIL for shade. For those sharp edges of the knife, I used the DARK ALUMINIUM from VALLEJO again.
(PRO TIP: if your mini is big enough, you can also drybrush the sword and armor. If done right, it gives those things a "used" look.)


Follow Us on